
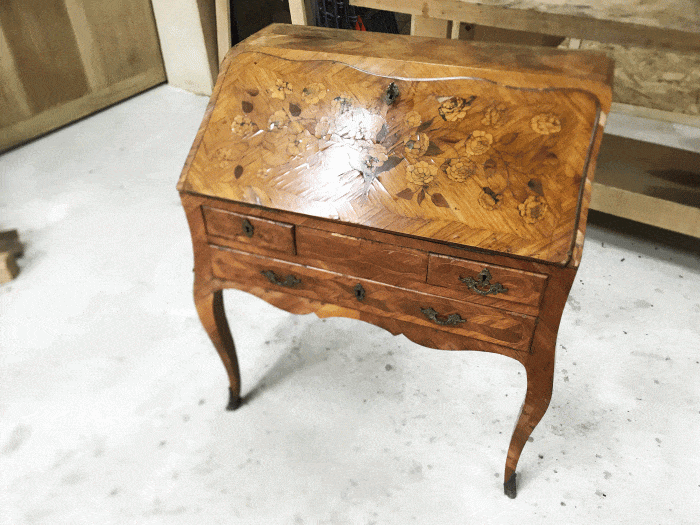
The restoration of a pretty snout desk, or as Riesener says in his memoirs, a "tomb-shaped secretary," began two weeks ago.
With the restoration stage completed and the varnishing begun, I am taking the time to give a brief summary of this restoration.
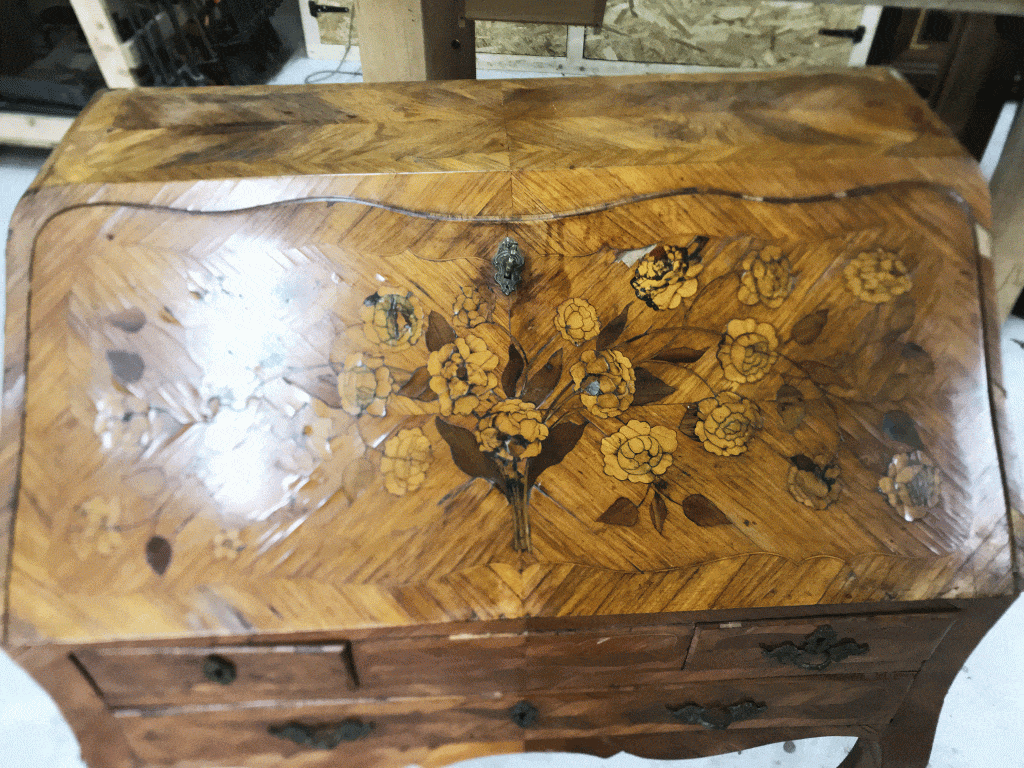
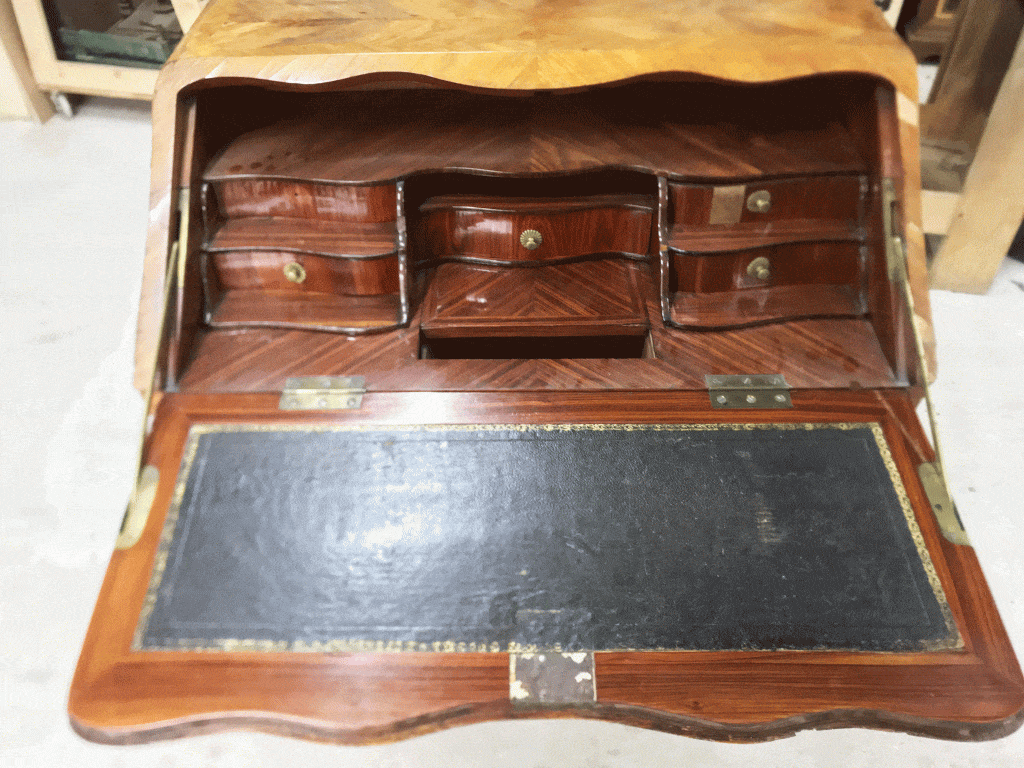
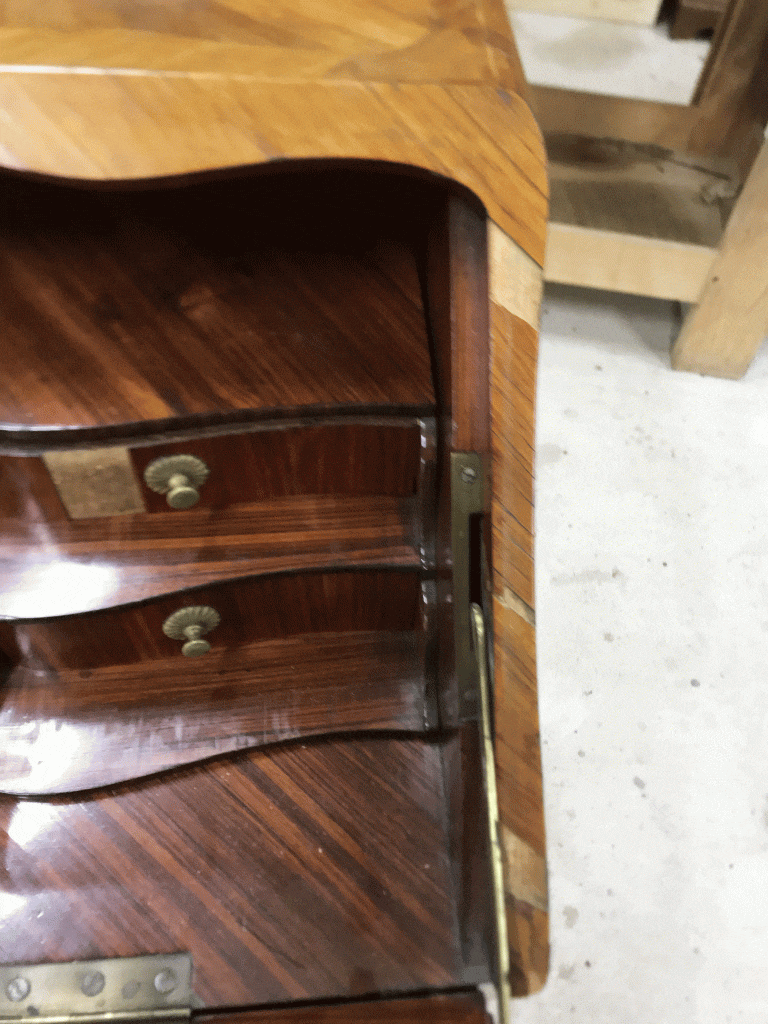
This desk is constructed of oak and fir for the frame and veneered with rosewood and violet wood, with floral marquetry on the drop-front composed of boxwood, natural and stained maple, and hornbeam. It features a large drawer in the frieze, surmounted by two smaller drawers. The drop-front, held open by brass hinges, reveals an interior with five drawers and a secret pull-out compartment in the center.
Moreover, in this photo we can clearly see the original colors which have not been exposed to light.
Regarding the condition report: the structure of the furniture is not seriously damaged. Apart from a very large crack on the right side which has left a deformation of approximately 5mm on the facing.
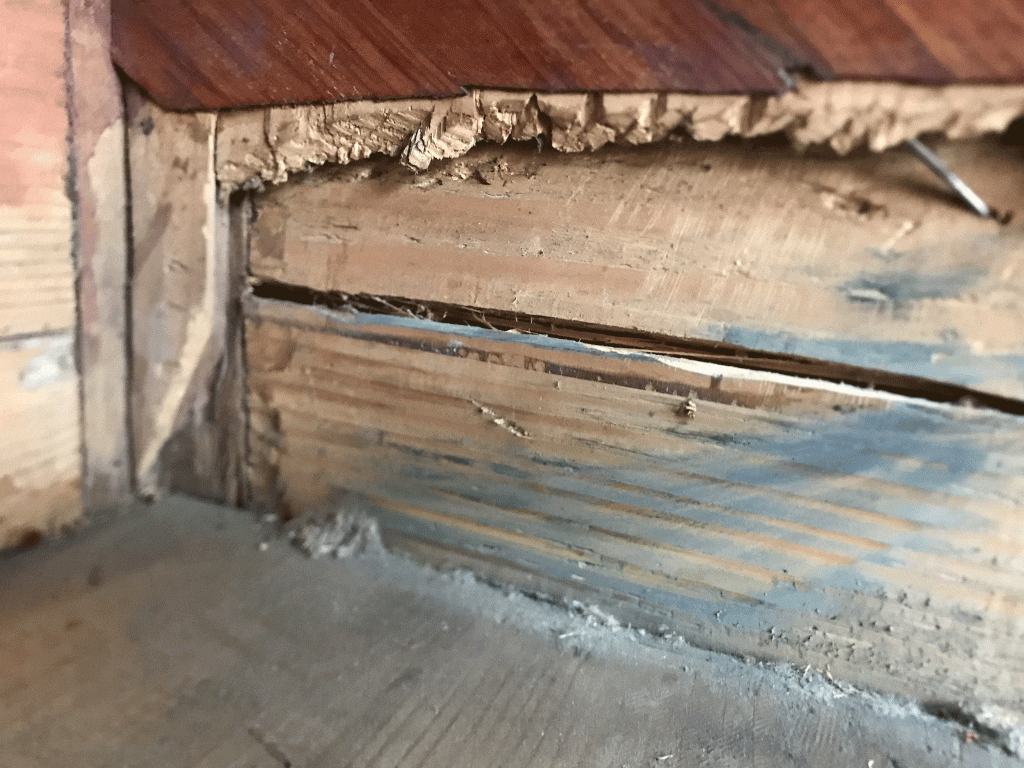
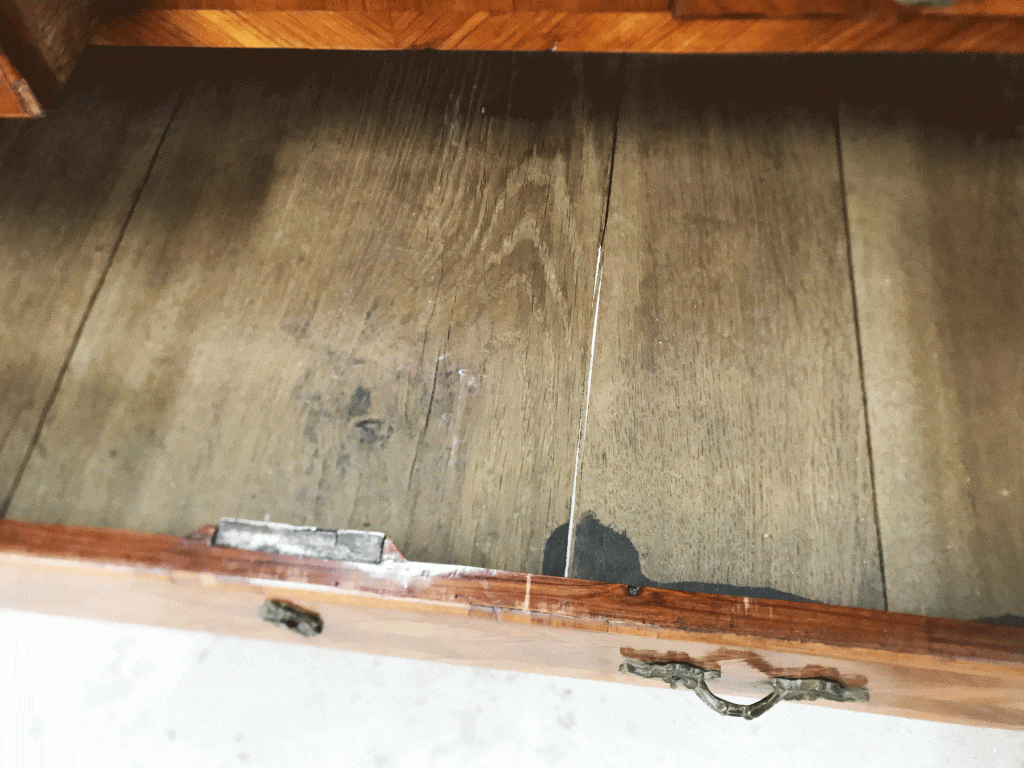
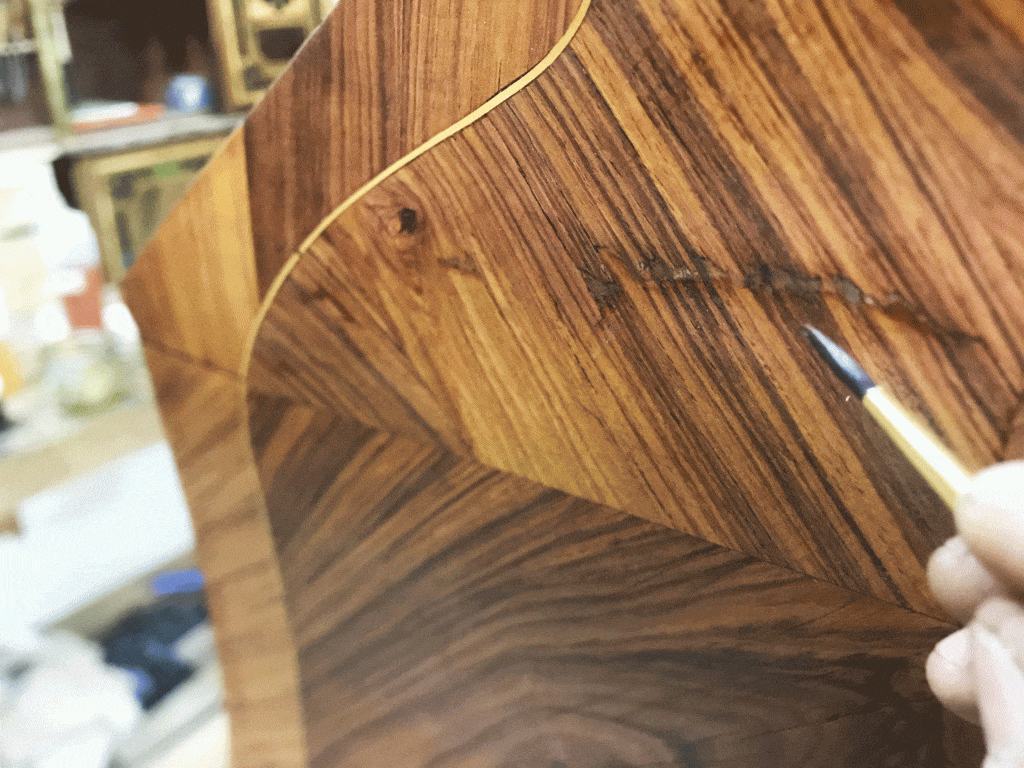
The biggest problem, as is often the case, is, aside from the easily identifiable missing veneers, the severe dehydration of the glue. This is clearly visible in the photos of the toilet seat and the sides.
The Restoration : For the gaps in veneer, they were filled with sawn rosewood and violetwood veneer, previously scraped, sanded, filled and oxidized, then they were made to the correct thickness by removing material, on the back face, according to the desired thickness for the graft.
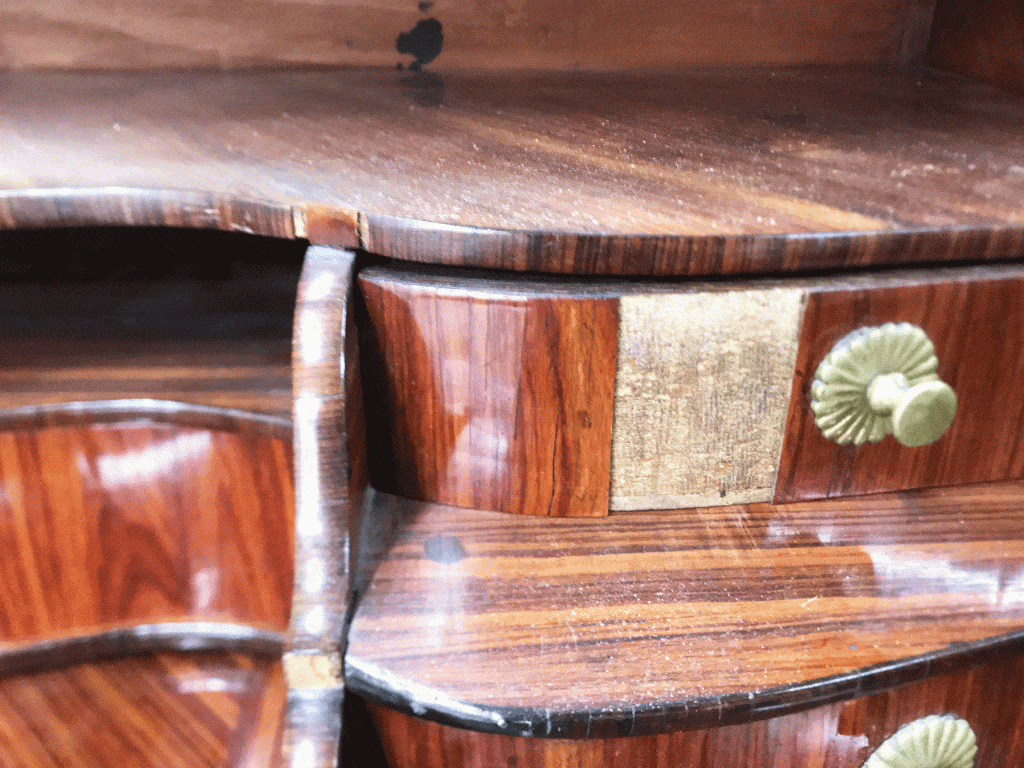
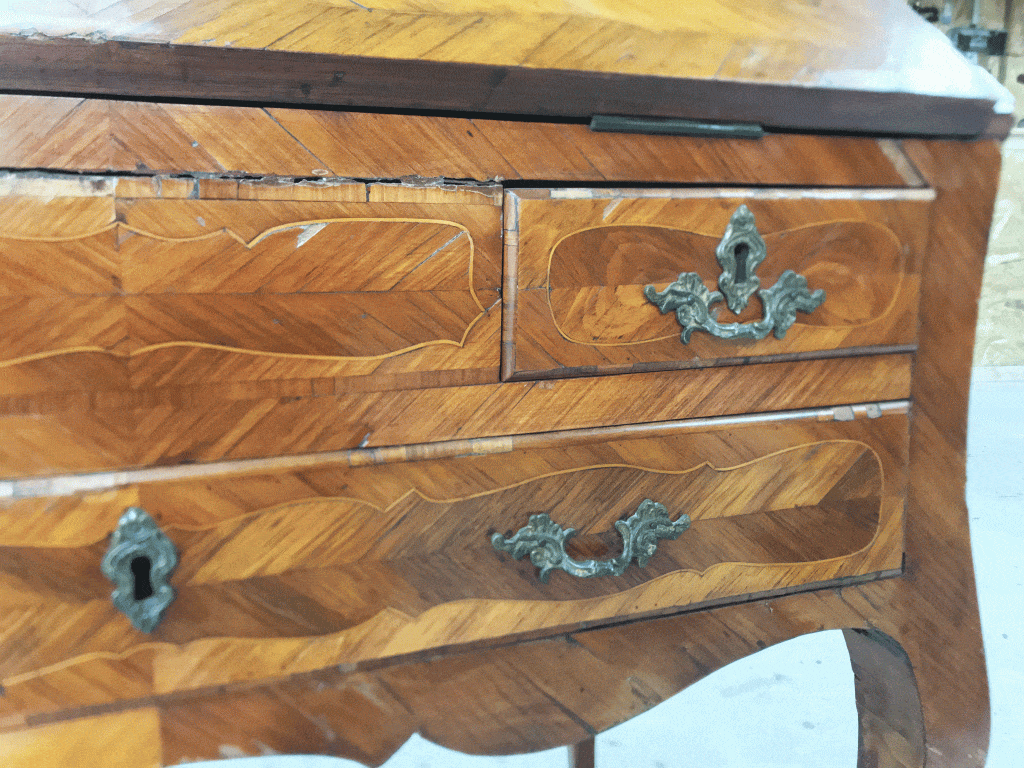
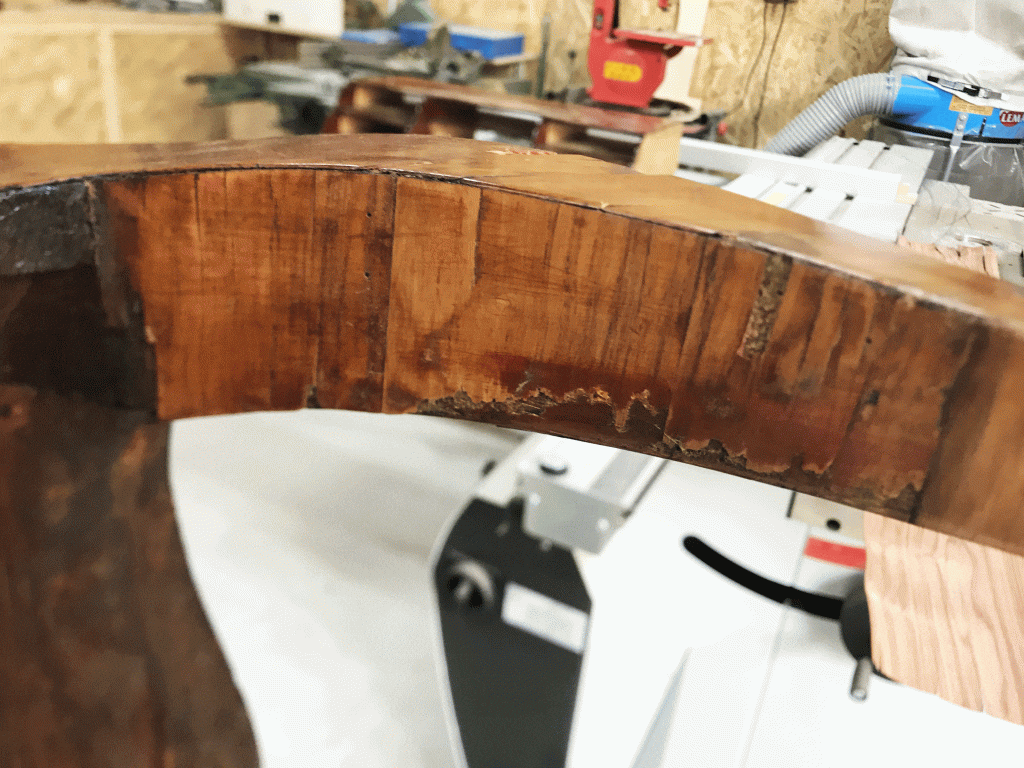
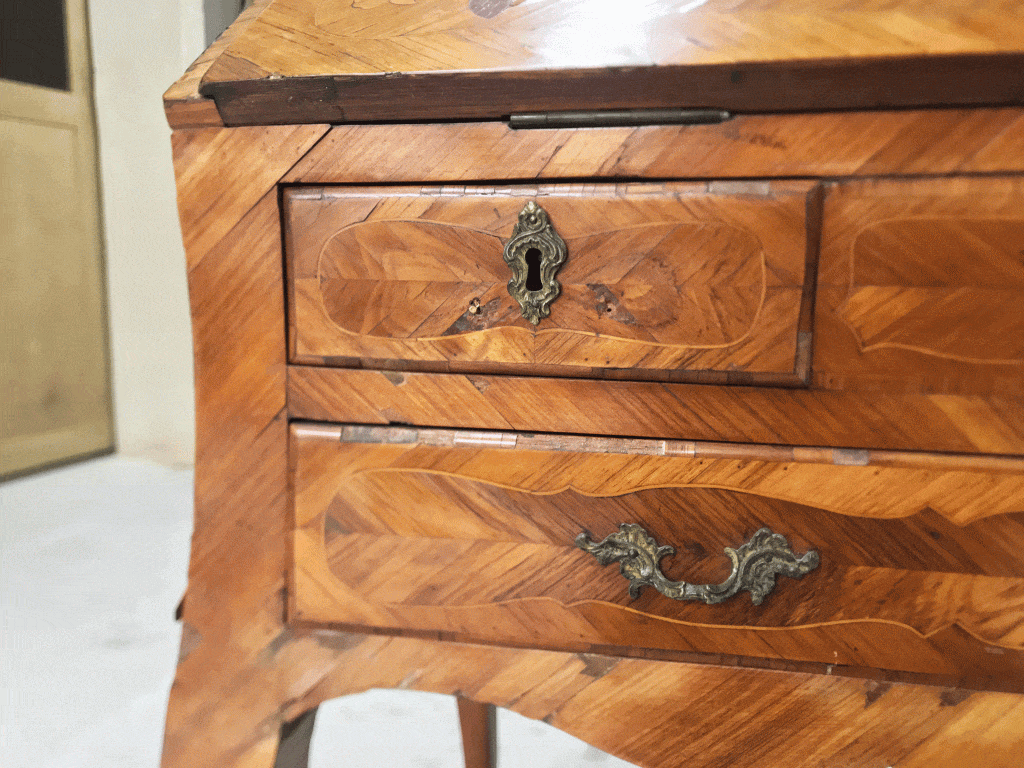
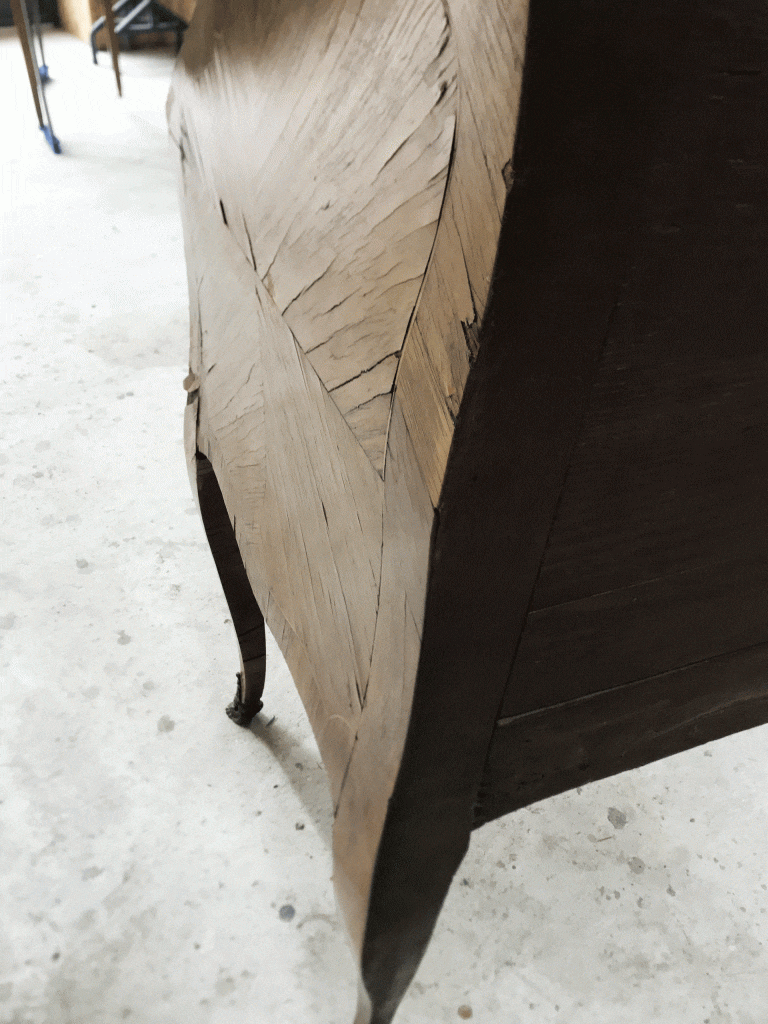
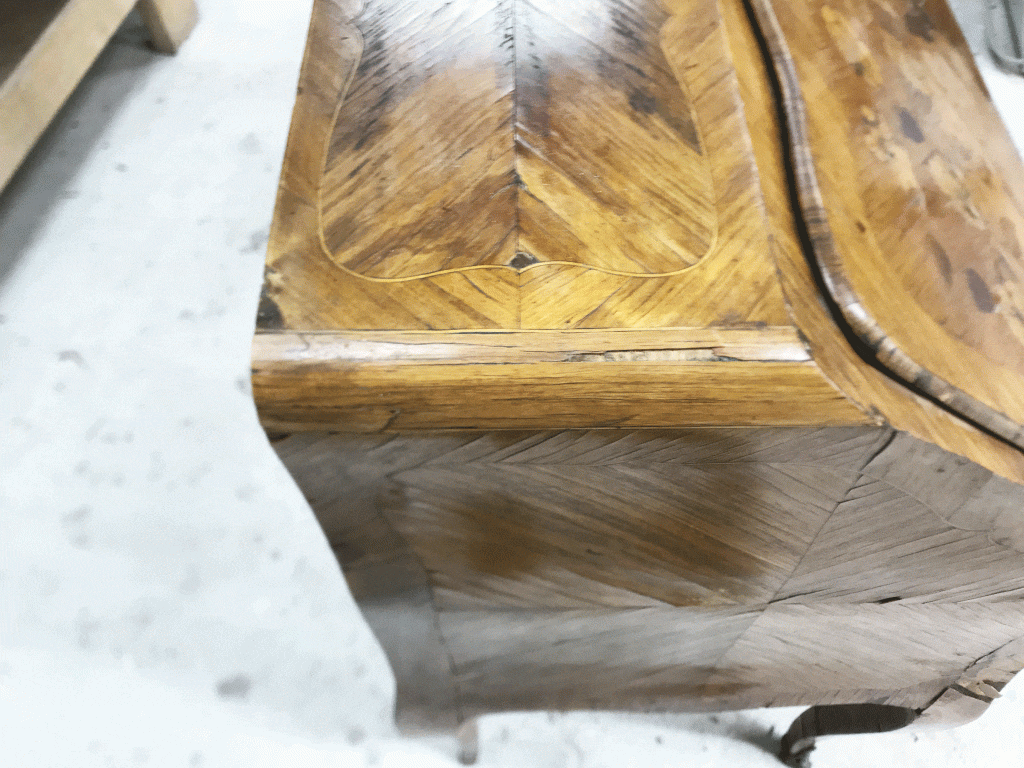
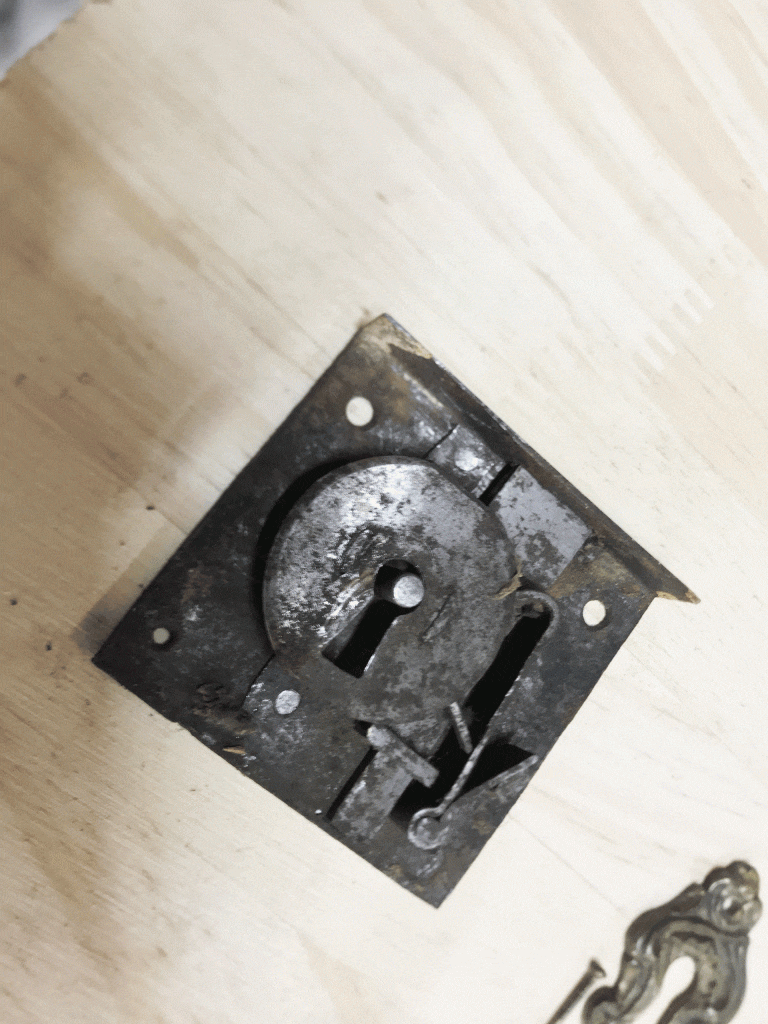
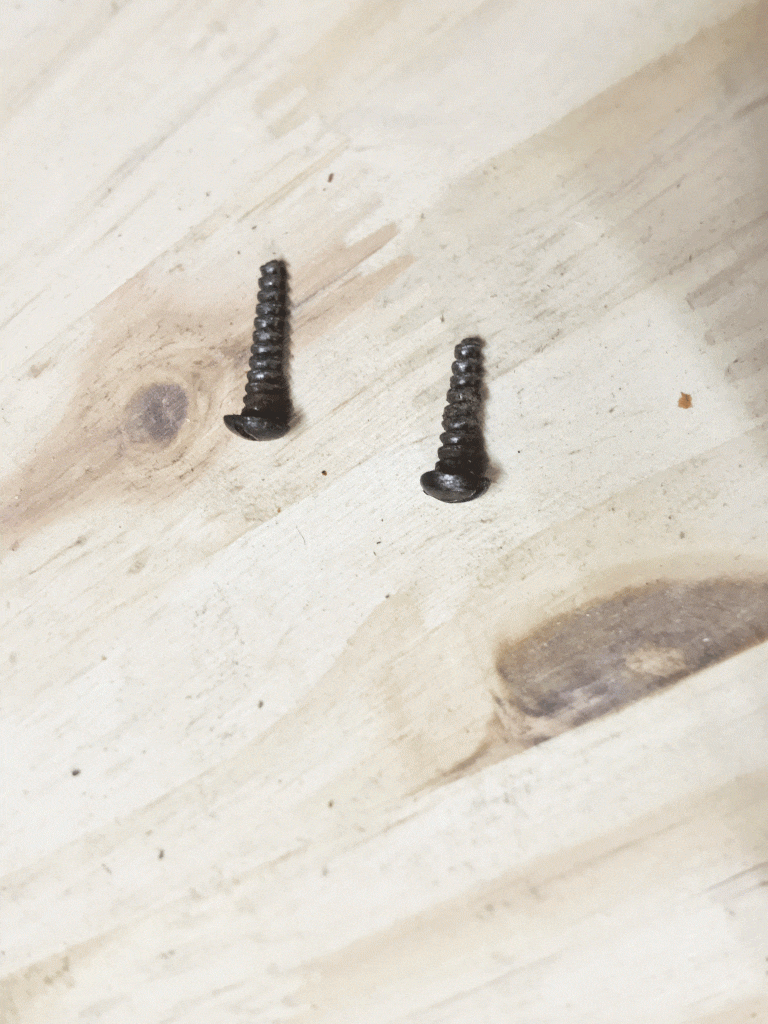
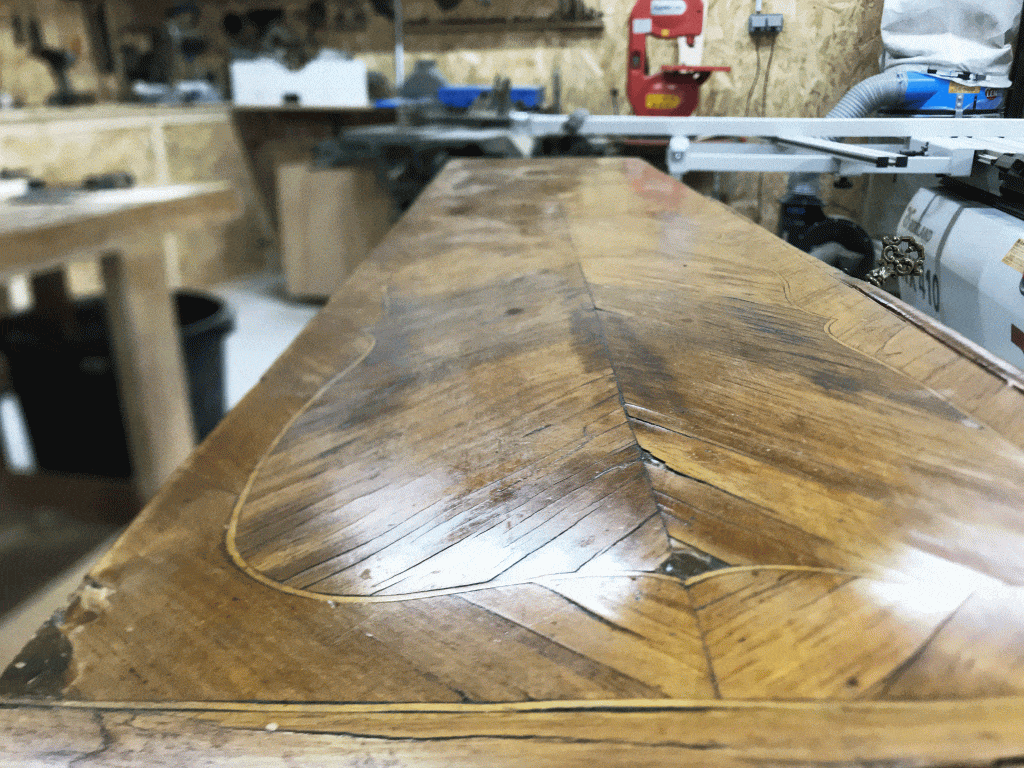
All surfaces have undergone rehydration of the adhesives by infiltration to ensure the least possible handling that could lead to greater degradation of the furniture.
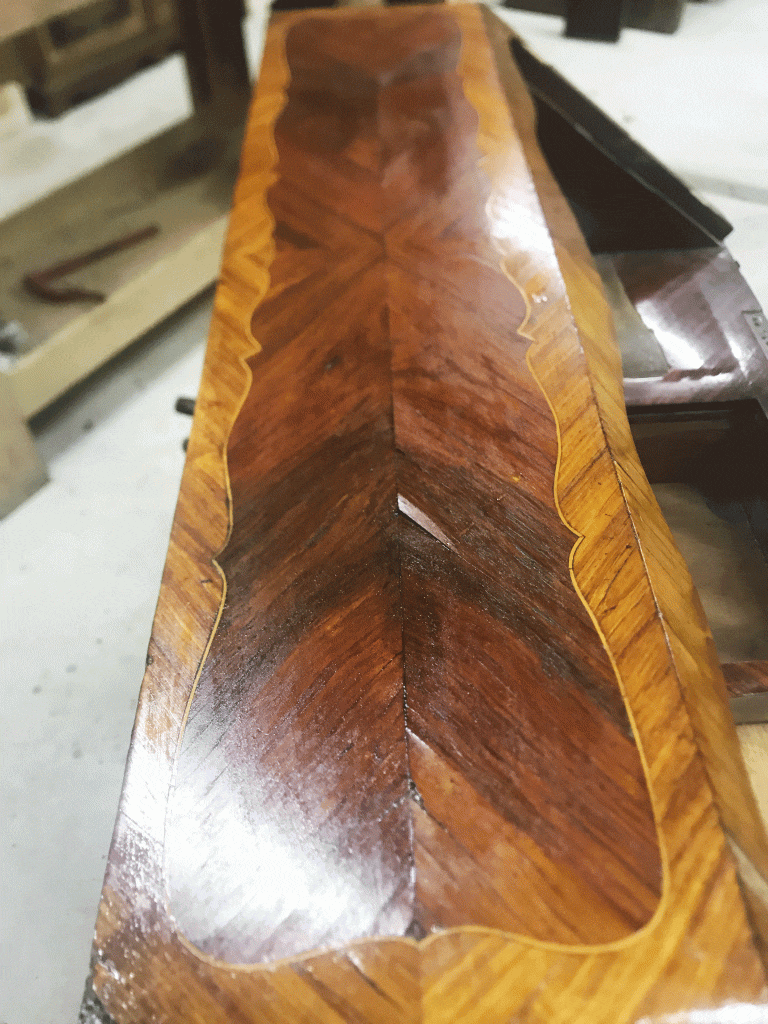
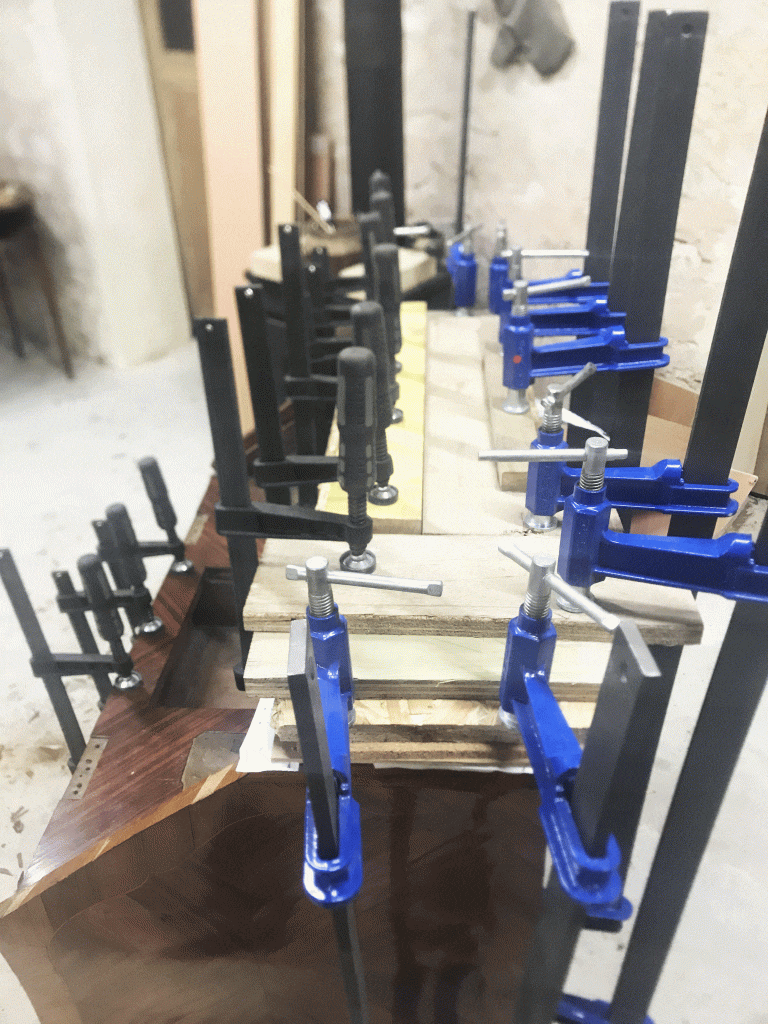
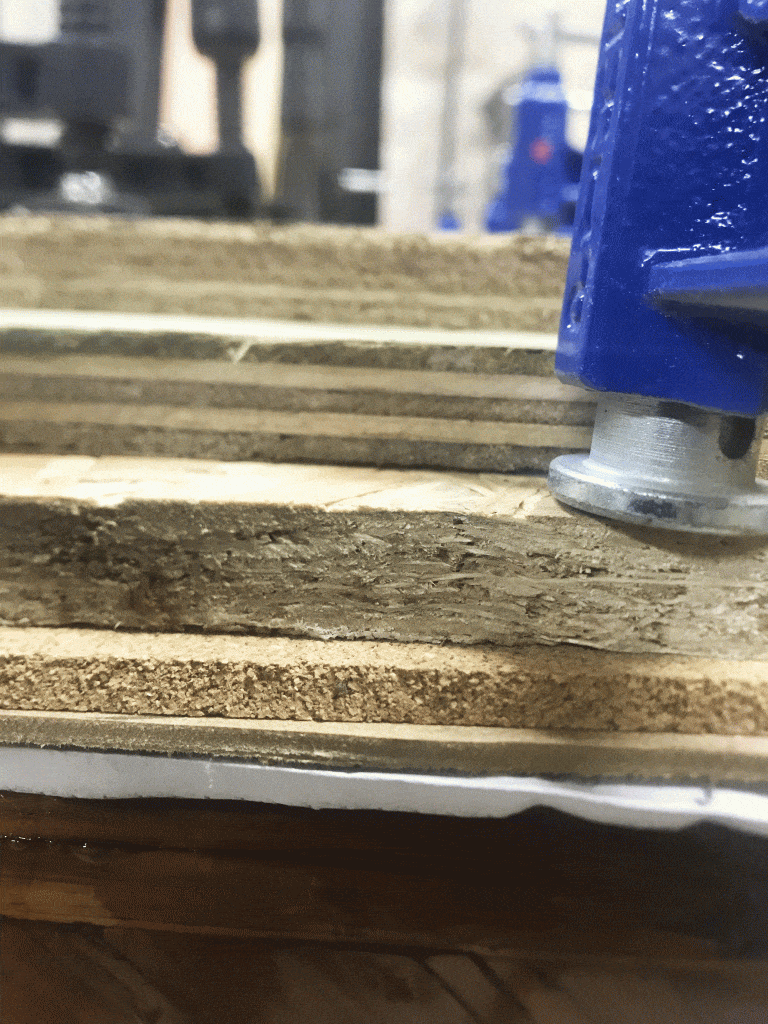
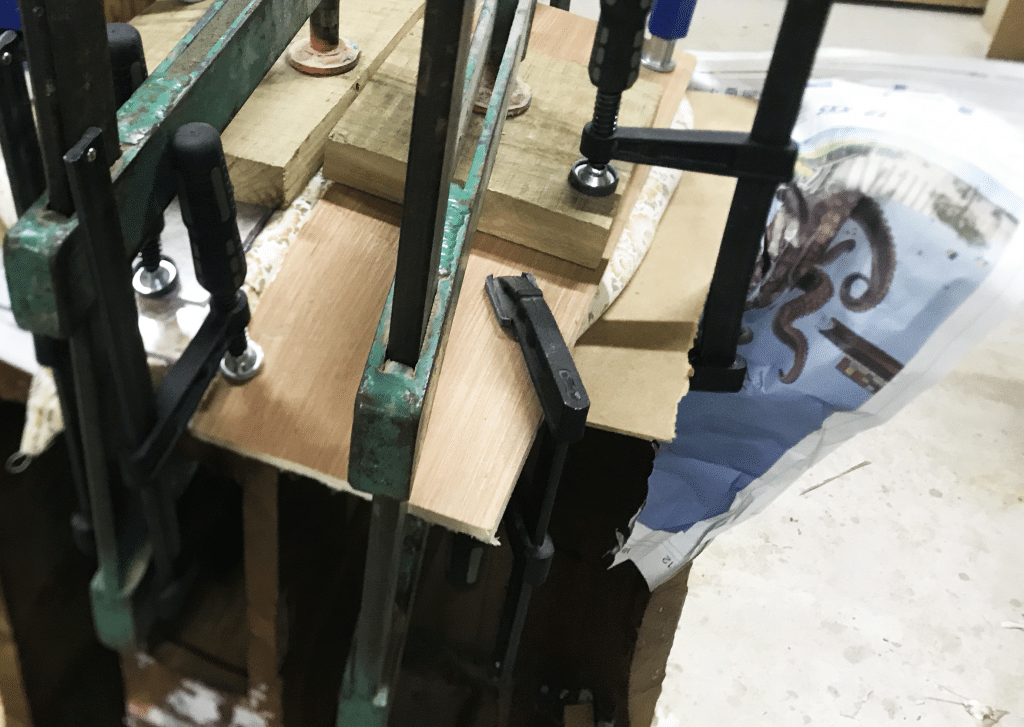
The drawer pull was a special case, as it was too damaged to be rehydrated by infiltration. In fact, I very rarely remove veneer. It's an extremely traumatic step for a piece of furniture and should only be used in cases of extreme necessity. Which was the case here, because the drawer pull panel was completely warped and no longer allowed it to be opened. Furthermore, it was a small area, making it an easy step to perform while ensuring a quality finish.
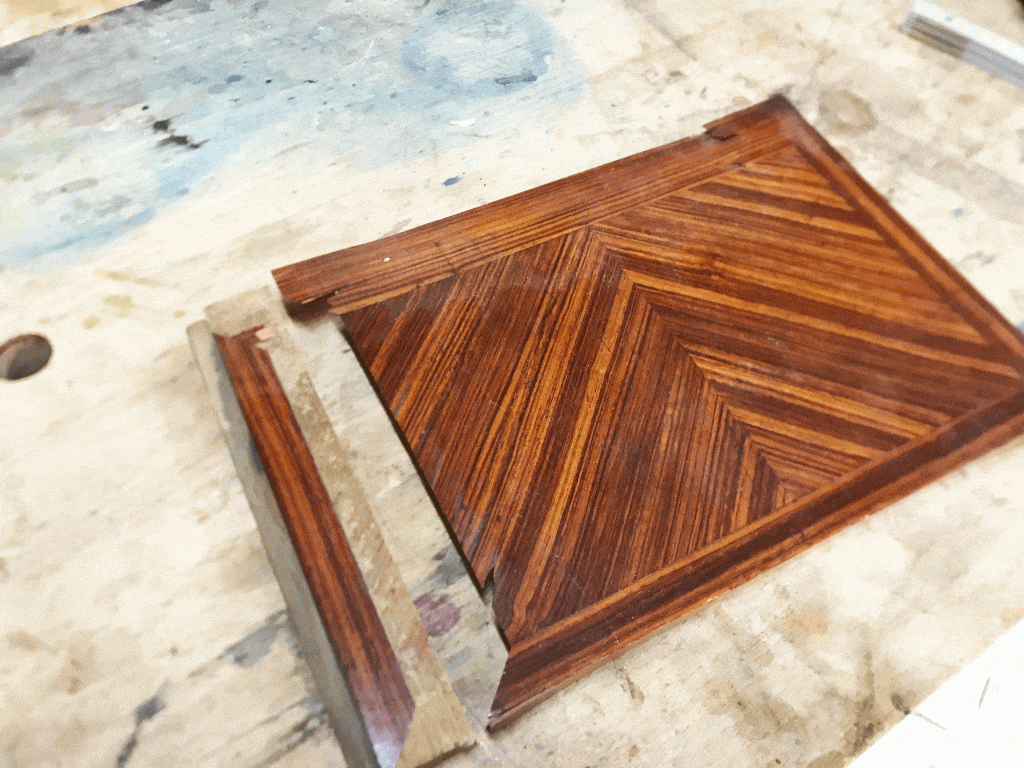
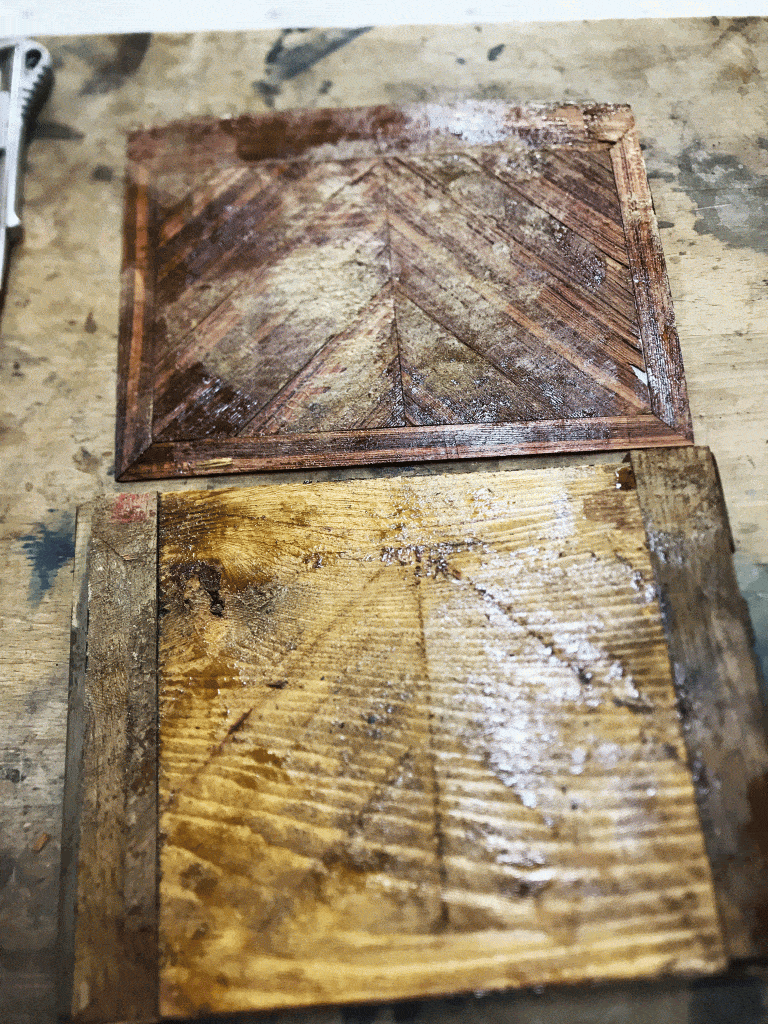
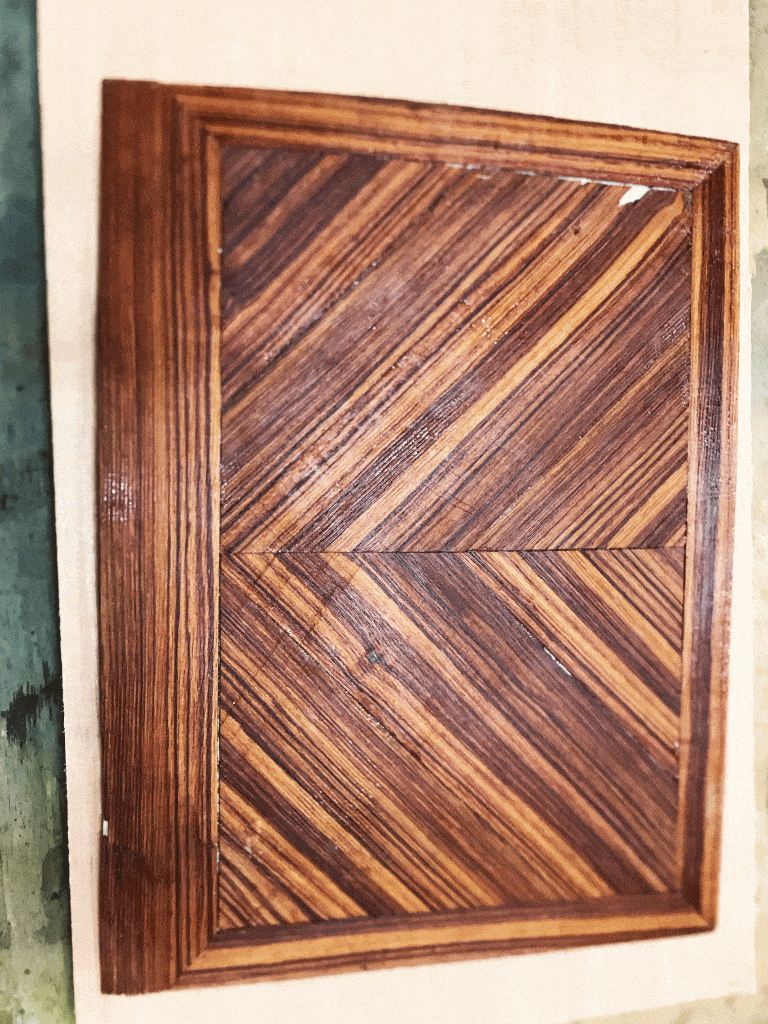
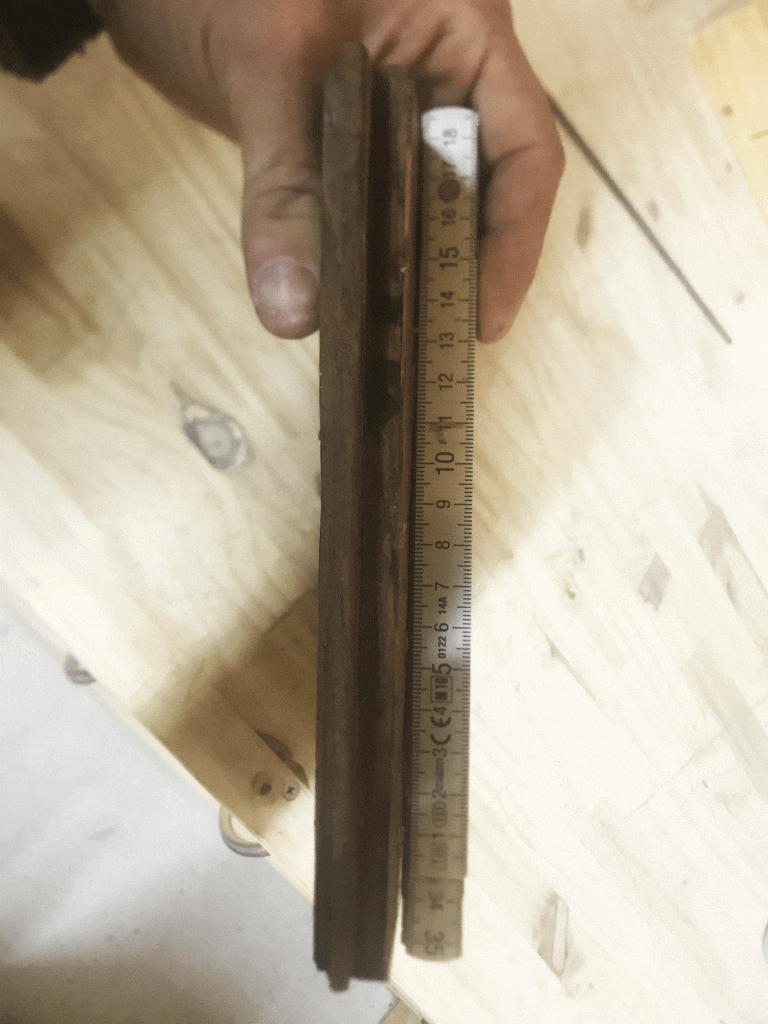
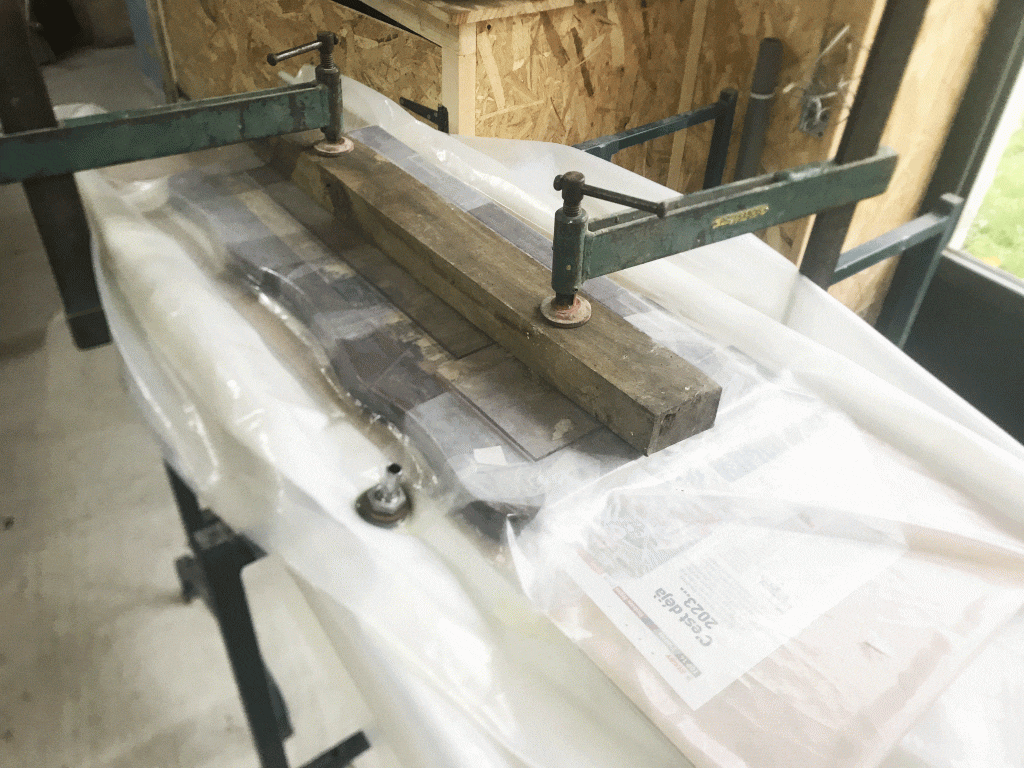
After reattaching all the veneers, I stripped the piece of furniture with a stripper specifically designed for furniture restoration, then I began filling with sandpaper, applying varnish, and doing the color touch-ups. Now, all that remains is to let the varnish cure between coats, a process that will take about a month.
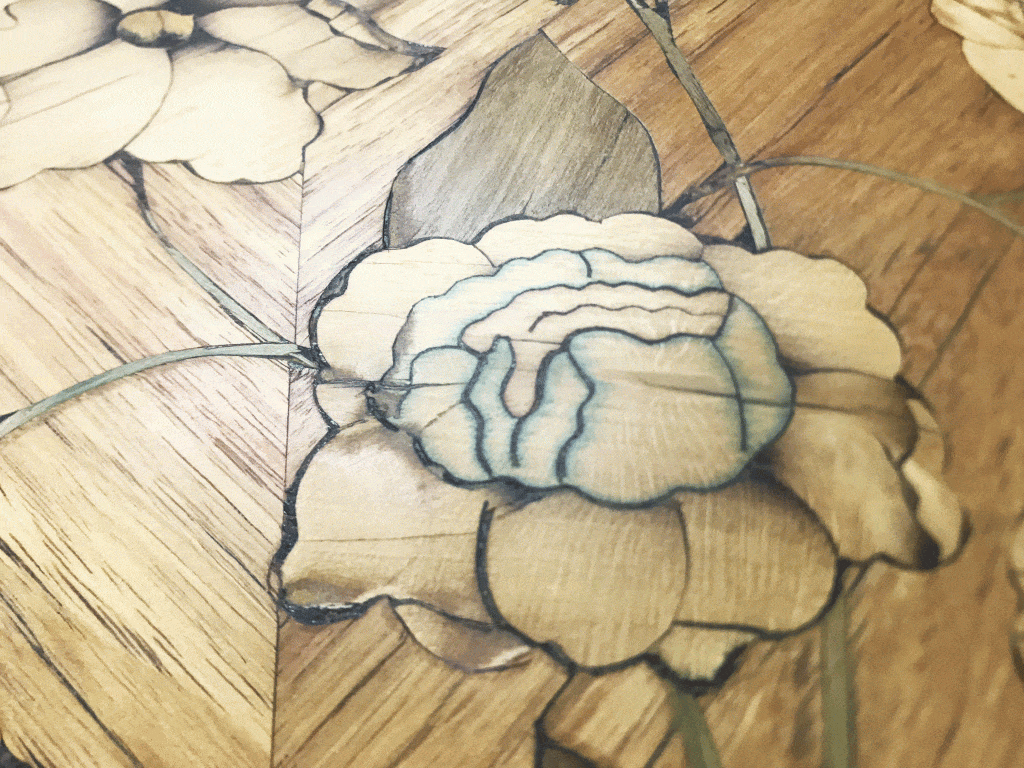
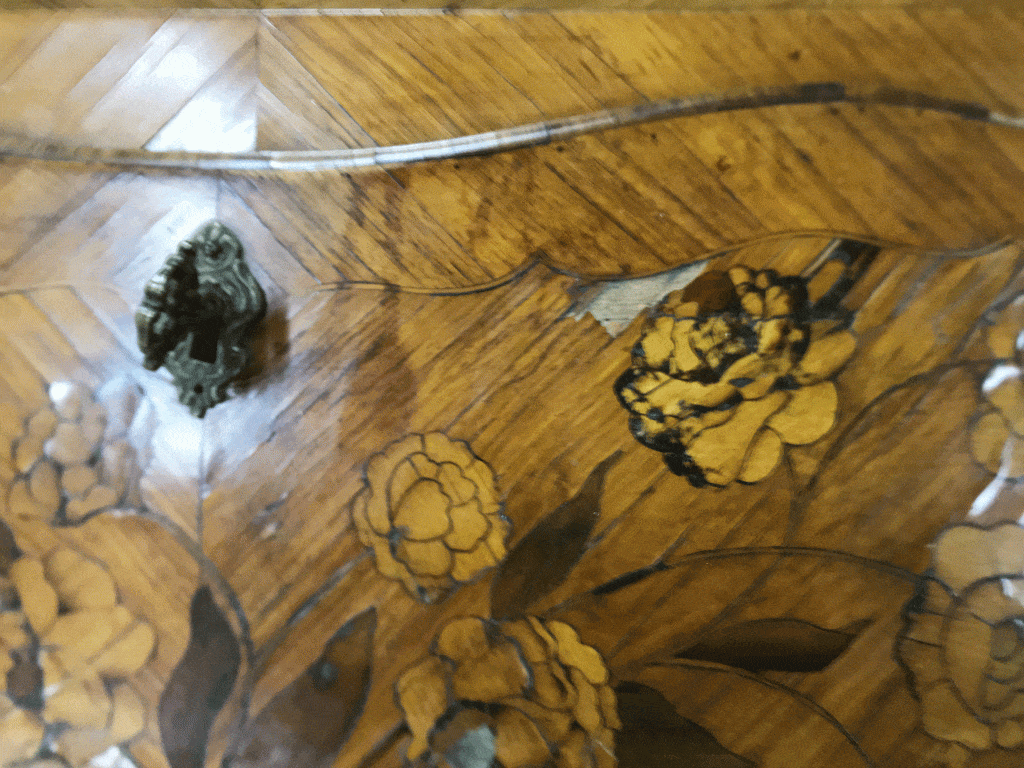
In this photo, you can see that the flower's bulb was dyed blue. But dyeing veneer has never been easy. The craftsman who made this flower, after cutting it out, soaked the veneer in the dye. But the soak wasn't long enough, and the dye didn't penetrate the wood completely. This is clearly visible in the saw cuts, which retain the color, while excessive sanding of the surface has removed the stained layer.
More to come in a few weeks….
What an artist you are…! I often do small or even minimal furniture restoration, warped drawers, adjustments of all kinds, and in my spare time, I would love to work with you, free of charge of course.
Perhaps in my retirement, I must say, I'm a cabinetmaker by trade, a trade my hands have kept but which I haven't been able to continue due to a lack of career change… Bravo, I love your articles
Good morning,
Thank you so much.
It will be a great pleasure for me to welcome you to the workshop.